![]()
A lined cake tin
Lining a Cake or baking tin with greaseproof paper will prevent the sides of the cake from sticking to the tin. If the greaseproof paper is simply placed, unshaped, into the tin it will not sit neatly in the tin and the result will be a cake with an uneven base and sides. This article will show you first how to create a circle of greaseproof paper exactly the right size for any tin.
It will then show you how to form the greaseproof paper correctly for the sides. Before doing anything, first grease the inside of the cake tin with margarine, butter or oil. Now follow the illustrated instructions below. Any of the pictures can be enlarged by clicking on it.
First though we include a video below of the entire process. The video shows that the process takes four and a half minutes. No fancy music, no cutting the video at various stages, we show you the whole process from beginning to end.
A sharp knife
Scissors
Lining a cake tin with greaseproof paper is a two part process. First create the base circle. To do this, cut off a strip of greaseproof paper which is an inch or two longer than the sides of the cake tin. Fold in half, then fold in half again in the opposite direction.
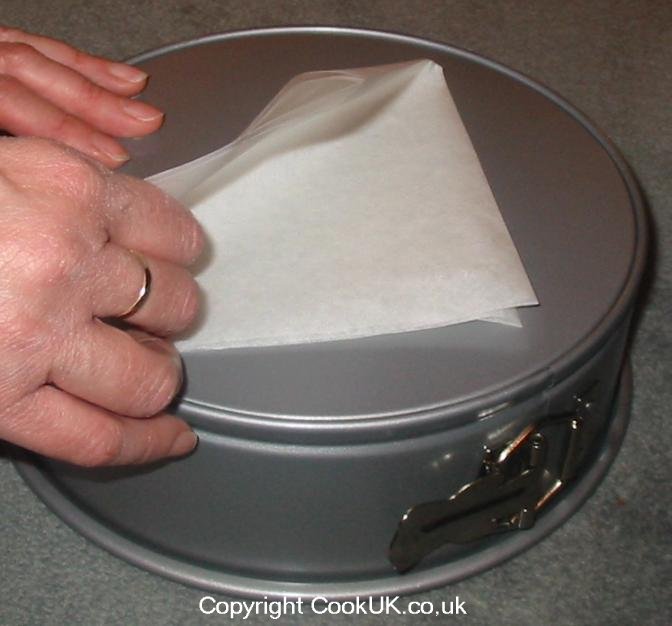
Take the folded edge and fold in half into a triangle shape (see the picture on the below).
![]()
Folding greaseproof paper for a cake tin
Fold the greaseproof paper once more as shown in the picture below to form a cone shape.

![]()
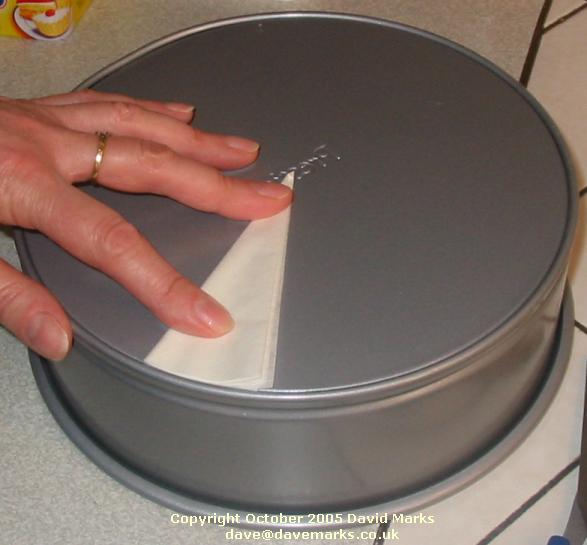
Place the pointed end of the cone of greaseproof paper in the centre of the upturned cake tin.

![]()
Cut the other end with a pair of scissors round the curve of the cake tin.
![]()
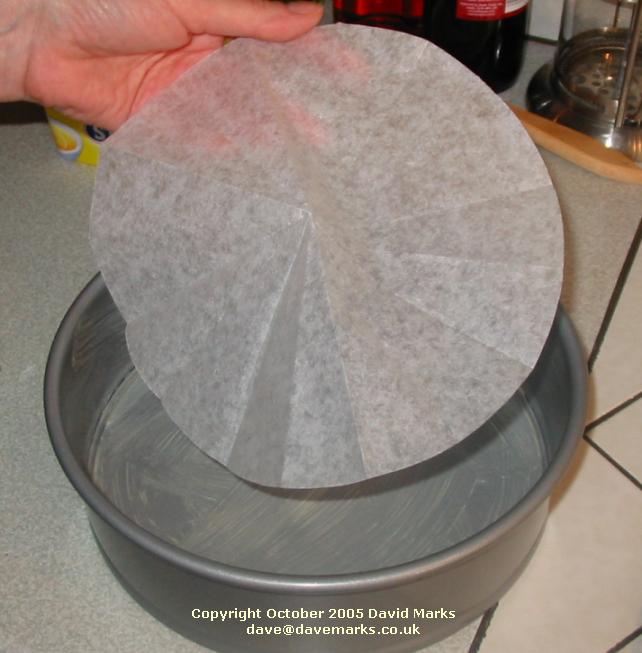
Unfold the cut greaseproof paper and "voila!" you have a circle of greaseproof paper which is exactly the size of the interior of the base of the cake tin.
![]()
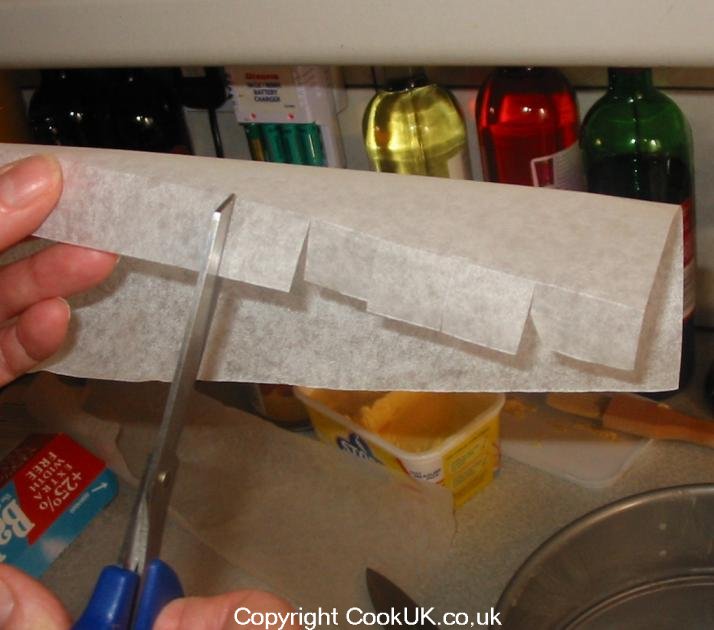
To line the sides you will need two pieces of greaseproof paper of the same size. Cut off a strip of greaseproof paper which is roughly 2.5cm (1 inch) taller than the side of the cake tin.
Cut 2.5 cm (1 inch) into the greaseproof paper at 5cm (2 inch) intervals. Click the picture below to enlarge it for more detail.
![]()
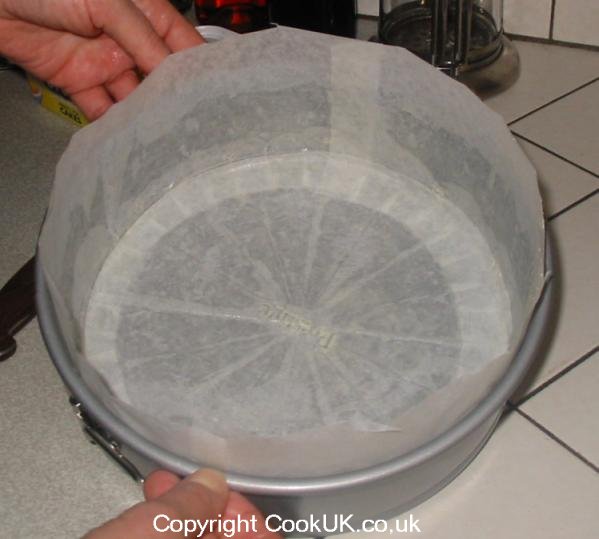
Place one piece of greaseproof paper into the cake tin with the cut edge downwards. The cuts will allow you firm the paper around the tin with the base and sides laying flat against the tin.
Do the same with the other strip of greaseproof paper to cover all the sides of the cake tin.

![]()
Take the centre piece of greaseproof paper and place it on the base of the tin. Firm around the sides and base to make sure all the paper is sat firmly in the cake tin. Because the inside of the cake tin was greased at the start, the paper will stick to the cake tin.
Grease the greaseproof paper.
![]()
Cake tin fully lined with greaseproof paper