![]()
Christmas Cake with Ready Roll Icing
Ready Roll icing is a quick and easy way to ice a Christmas Cake or any other cake for that matter. You end up with a really flat surface without all the fiddle of using traditional icing.
Our step by step pictures and instructions make it all easy.
Pack of Ready to Roll Icing - enough for a 25cm (10 inch) cake
2 tablespoons icing sugar
PREPARATION TIME: 30 minutesIt's ideal if you ice your cake when the marzipan has had about two weeks to fully harden. Having advised that, we have marzipaned and iced a cake on the same day. I know because I'm looking at two cakes right now!
This page takes you through icing a Christmas Cake with Ready Roll Icing. Click on a line below to go to any of the other pages in this series about Christmas Cakes.
How To Make and Bake a Christmas Cake
How To Marzipan a Christmas Cake
How To Ice Your Christmas Cake with Ready-To-Roll Icing
How To Ice Your Christmas Cake The Traditional Method
A Recipe That Your Children Can Cook
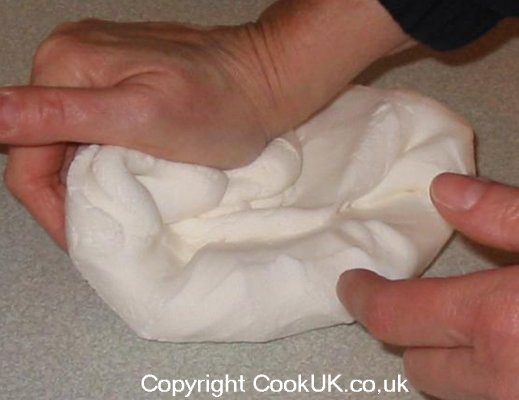
STEP 1
Remove the icing from the pack and knead it with your hands for 5 minutes. This will make it much easier to shape correctly.
![]()
Kneeding ready roll icing
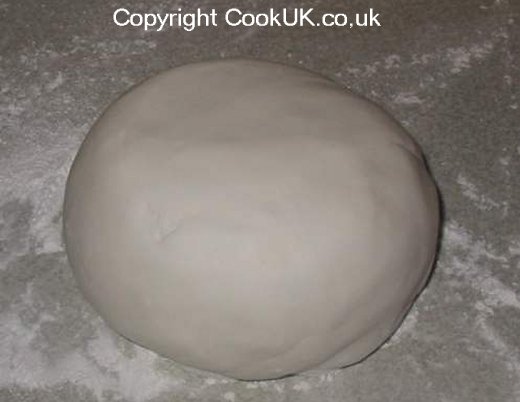
Shape the icing to a ball shape so that you can roll it out into a circle easier.
![]()
Roll icing into a ball shape
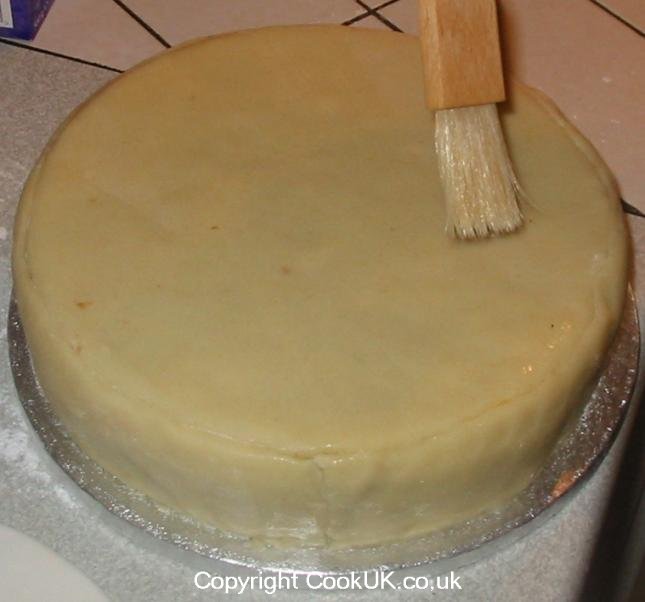
STEP 2
Brush the surface, including the sides, of the 'marzipaned' cake with water. This helps the icing stick firmly to the cake.
Dust the work surface with icing sugar and roll out the ball of icing to a circle which is just a bit larger then the Christmas cake. The icing should be roughly 3/4 cm (1/4 inch) thick.
![]()
Brushing marzipan with water
STEP 3
Lift up the rolled out icing with both hands and place it on the cake.
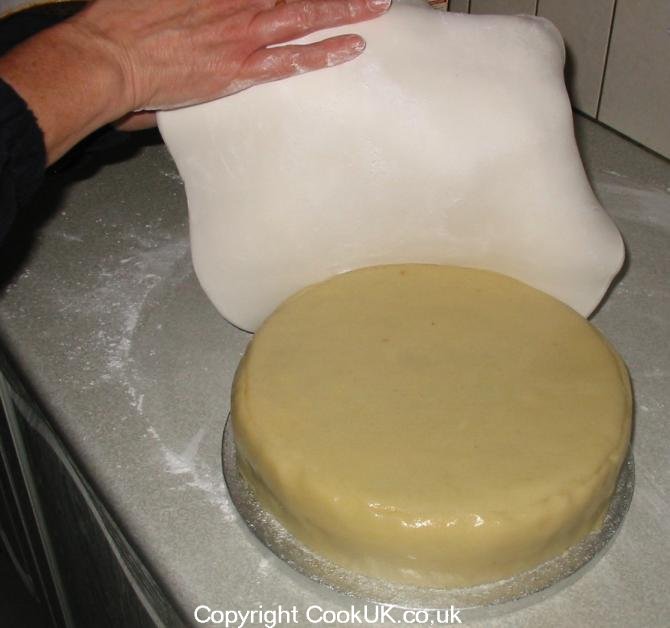
![]()
Transfer ready roll icing to cake
Firm down the top and then the sides to give a smooth surface.
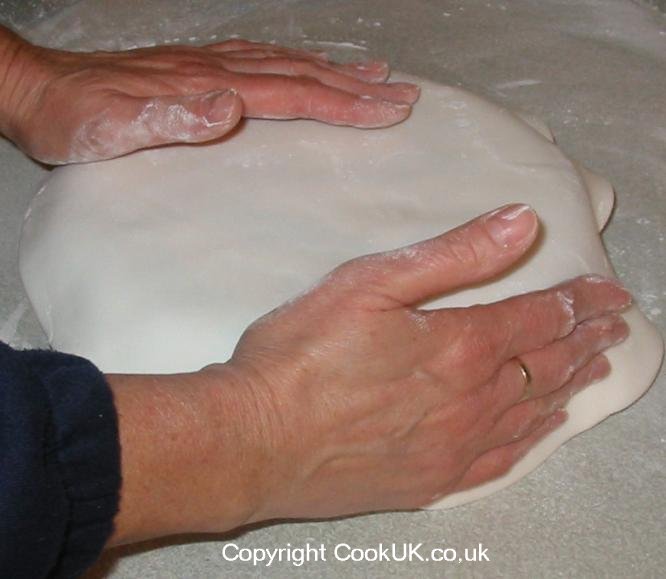
![]()
Firn down ready roll icing onto cake
STEP 3
Trim off any excess icing round the base of the cake and firm the the icing around the cake.
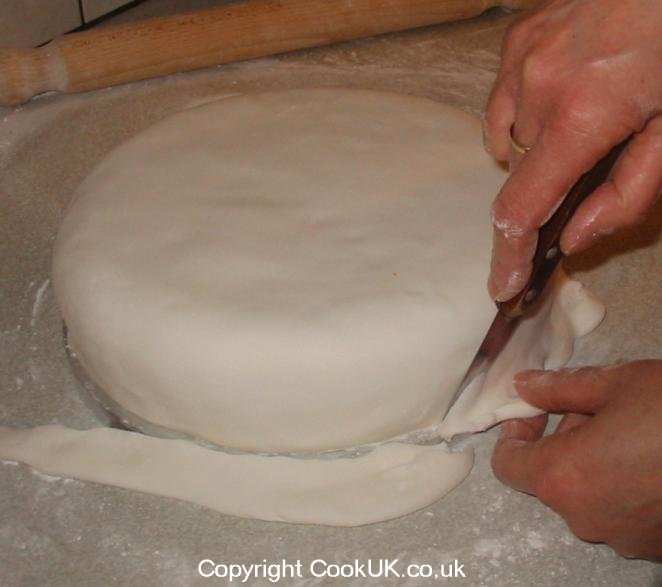
![]()
Trinning off excess ready roll icing
It really is that easy!

![]()
Firm ready roll icing down again
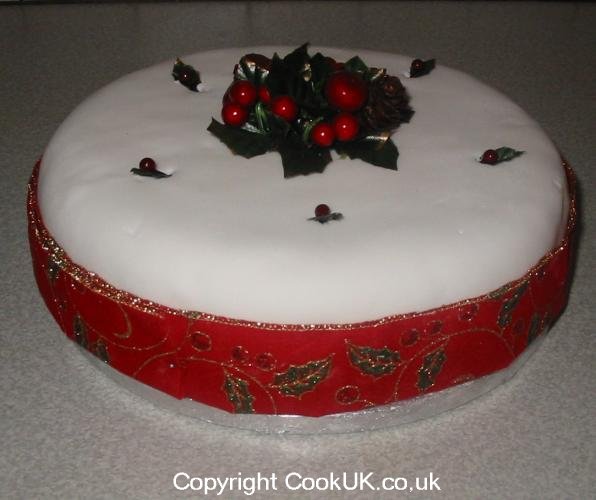
The decoration of the cake is only limited by your imagination. In our example we have gone for the traditional look.
Remember also that most Ready to Roll Icing can take normal icing on top. So it's quite feasible to decorate the cake with different coloured icing patterns.
![]()
Decorated christmas cake