![]()
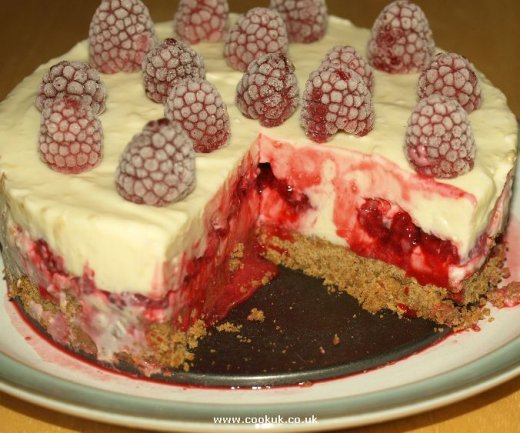
This is a British (and Australian) version of the cheesecake. It's made with cream cheese, chocolate and other ingredients on a crispy base of crushed digestive biscuits. Raspberries are added into the cream cheese and used to decorate the cake.
Cream Cheese (full fat) - 400 grams / 14 oz
White chocolate - 200 grams / 7oz
Double cream - 200 ml / 6½ fl oz
Frozen or fresh raspberries - 400 grams / 14 oz
Digestive biscuits 230 grams / 8 oz
Sugar (castor / superfine) - 150 grams / 5½ oz
Butter (no salt) - 110 grams / 4 oz
Gelatin(e) 3 teaspoons
Icing sugar - 1 teaspoon (for decoration only)
Zest of 1 medium lemon - approx. 1½ teaspoons
Start melting the butter by placing it in a heat proof bowl and then placing the bowl in a pan of moderately hot water on a low heat.
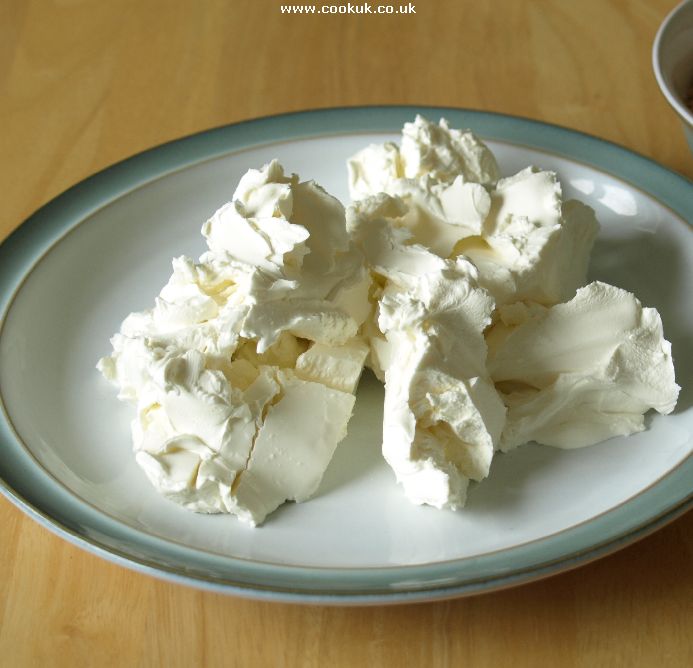
Remove the cream cheese from the fridge and spoon it out of the container onto a plate.
![]()
Cream Cheese
Leave it at room temperature for about 15 minutes. This will make it easier to combine with the sugar.
Start melting the chocolate by placing it in a heat proof bowl and then placing the bowl in a pan of moderately hot water on a low heat.
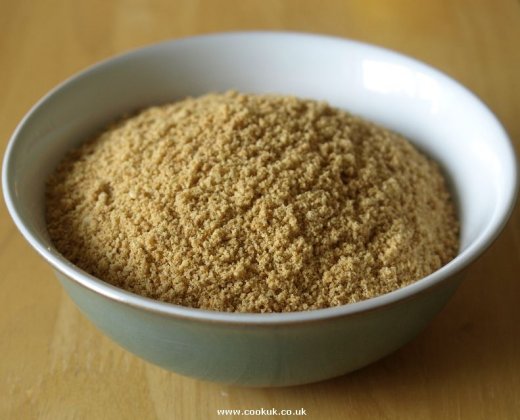
Crush the digestive biscuits. We used a food processor which does an excellent job in only 30 seconds.
![]()
Crushed Digestive biscuits
If you are crushing them by hand then break the biscuits up, place them in a freezer bag and then bash into bits with a rolling pan. Very satisfying!
Double cream - nowadays there are several "double creams" which have reduced fat, don't use them for this recipe. Use the standard double cream which has a fat content of around 48%
Removing the cheesecake from the tin - many recipes don't even mention that you will need to remove the sides of the tin leaving the cheesecake on the base. Shame on them because it's not easy if you don't know how! Before you remove the tin sides, wet a palette knife and use it to separate the sides of the cheesecake from the tin. Separate a quarter at a time, cleaning and re-wetting the palette knife each time.
Baking the biscuit base - key to a good cheesecake is a firm, crunchy base. We tried several variations and came to the definite conclusion that adding a good portion of butter to the biscuits and then baking the base gave excellent results. Our recipe follows this method.
As an alternative, you can refrigerate the base for 30 minutes rather than bake it. The results are OK but not nearly as good as our method below.
Frozen or fresh raspberries - fresh or frozen raspberries are equally good for the
inside of the cake. But frozen raspberries used for decoration quickly loose their shape,
although the taste is still good. Then again fresh raspberries are much more expensive
compared to frozen ones. So what to do? These are the options:
1. Buy half the amount frozen (for inside the cake) and half fresh for decoration.
2. Buy all frozen, then decorate the cake with frozen raspberries immediately before
serving. Tell your guests, as you serve the cake, that the raspberries make take a
couple of minutes to defrost.
3. Buy half fresh raspberries and buy some other fresh fruit, such as cherries or
blueberries, as decoration.
We tried all the options and they all worked fine. Chocolate shavings also look good.
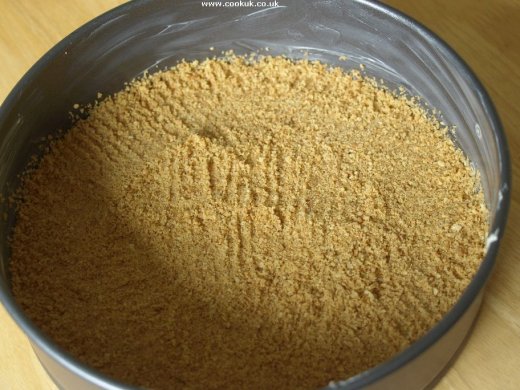
Grease the baking tray with butter. Pour the biscuit into a bowl (not the baking tray) and then pour over the melted butter.
Mix thoroughly with a fork. Pour the mixture into the baking tin and evenly spread it around the base. Press the crumbs down well with a fork first and then your fingers. Place in the pre-heated oven for 20 mins then remove from the oven and leave to cool.
![]()
Crushed biscuits and melted butter
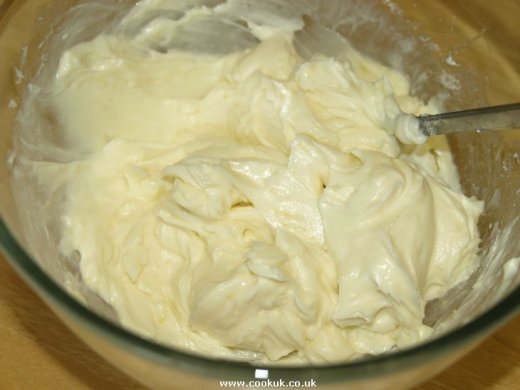
Using a fork, beat the cream cheese, caster sugar and lemon zest until they are well mixed. This will take about two minutes. Pour 75 ml / 2½ fl oz of boiling water into a cup and mix in the gelatine until dissolved.
Sprinkle the gelatine liquid into the cream cheese, pour in the melted chocolate and stir well. Whip the cream with a fork for about a minute then fold in the cream with a spoon.
![]()
Cake mixture
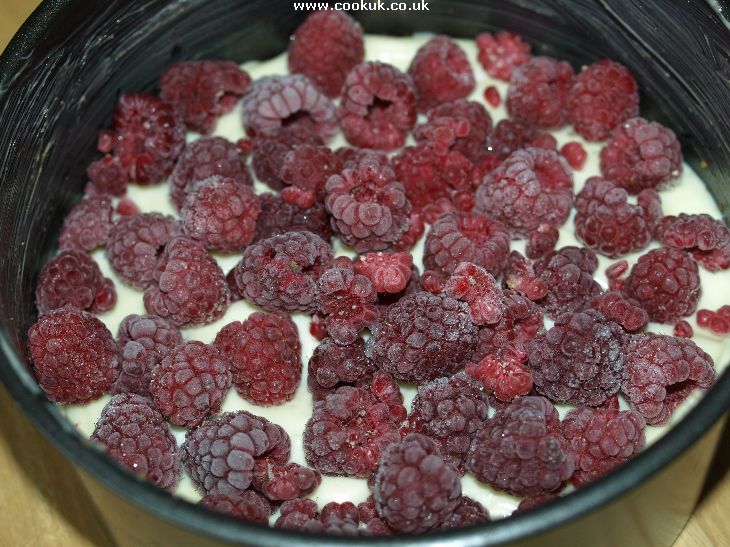
Pour a third of the cream cheese mixture over the biscuit base in the baking tray. Even it out so that all of the base is covered.
Scatter half of the raspberries evenly over the surface of the cheesecake and then spread over the remaining two thirds of the cheesecake mixture. Doing it this way stops the raspberries staining the white surface of the cheesecake.
![]()
Half-filled cake tin
Cover the cheesecake (carefully!) and place in the fridge for at least 3 hours until it has set. Remove from the fridge and use a palette knife to separate it from the edges of the tin as described in the Advice section above above.
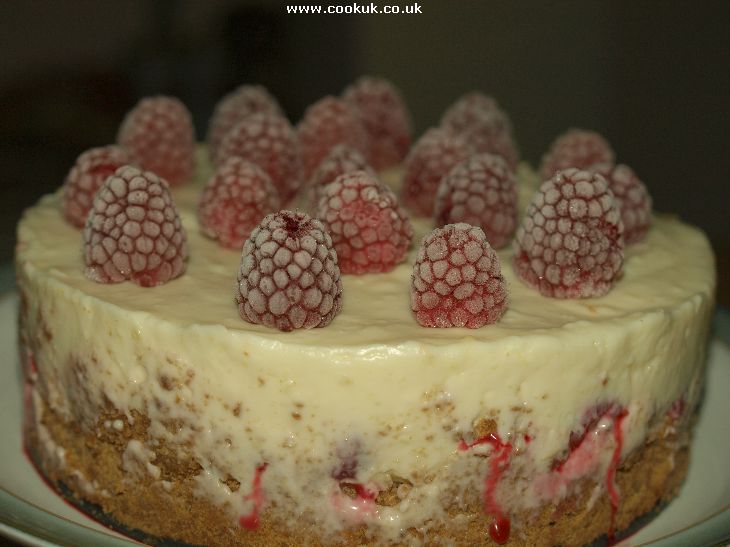
Decorate the top with with raspberries. Note that frozen raspberries should be placed on top immediately before serving (see Advice section above).
![]()
Chocolate and Raspberry Cheesecake