
![]()
Slice of Gruyere Cheese and Ham Galette
A traditional summer, savoury galette made with thinly sliced ham, gruyere cheese, eggs and shortcrust pastry. Mix in a generous helping of herbs and you have a delicious galette which can be eaten hot or cold.
The principle behind all galettes is that they are flat tarts with savoury or sweet filling. The edge of the pastry is turned in to hold the filling without the need for a cake tin. For more information on what a galette is, click here.
The filling varies from cook to cook, there is no set ingredient combination. Probably the most famous galette is "Galette des Rois", which has a sweet frangipane filling.
The pastry can be either puff pastry or shortcrust pastry. This Gruyere Cheese and Ham recipe uses shortcrust pastry which is slightly more robust compared to puff pastry, ideal if you are using this in a picnic setting but still exceptionally tasty when served warm to the table.
500g / 1lb 1½oz Ready Made shortcrust pastry (see "Shortcrust Pastry" section below for options)
7 Medium eggs
200g / 7oz Gruyère Cheese
120g / 4oz Thin sliced ham
3 Heaped teaspoons Butter
1½ Heaped tablespoons Chives (chopped)
1½ Heaped tablespoons Basil (chopped)
1½ Heaped tablespoons Parsley (chopped)
If you have chosen the option to make your own shortcrust pastry then do it now. Full instructions and a video on how to make shortcrust pastry can be found here. You only need to follow steps 1 to 3 of the shortcrust pastry recipe, roll the pastry out then return to carry on with the galette. The quantities used in the that recipe are 85g margarine, 85g lard and 340g flour. We would recommend increasing that to 100g margarine, 100g lard and 400g flour.
The second option is to buy a block of chilled ready made shortcrust pastry and roll it out. Many supermarkets stock their own brand and almost all stock Jus Rol shortcrust pastry blocks. These are sold in 500g packs which is only just large enough for the galette. We would recommend buying 2 blocks and using 600g of them. The remaining 400g of the second block can be bagged and frozen.
The final and easiest option is to buy two rolls of chilled ready rolled shortcrust pastry. This recipe is based on using ready rolled shortcrust pastry.
Remove the shortcrust pastry from the fridge to warm up slightly.
Finely chop the herbs.
Roughly chop the ham.
Grate the cheese.
Break six (not all seven) eggs into a bowl. Mix with a fork until white and yolk are just combined. Stir in the herbs.
With our expert advice and step by step pictures (plus a short video) we have made the preparing and cooking of this galette considerably easier.
Give it a go, forget the looks and simply enjoy the taste of this delicious galette. We would strongly suggest though that you read the entire recipe instructions before starting to make the cheese and ham galette.
This galette is delicious both hot and cold. For serving cold simply let it cool then cover and place in the fridge. It is delicious for breakfast and makes ideal picnic food.
Add one heaped teaspoon of butter to a frying pan which has a base of approximately 20cm / 8in diameter. Turn the heat to medium and wait till the butter has melted.
Pour roughly a third of the egg mixture into the frying pan and cook for two to three minutes until the egg has set, don't stir. Slide out the thin omelette onto a plate.

![]()
Cooking the thin omelette
Repeat Step 1 twice more to cook two more thin omelettes.
TIP
We suggest that you cover the first omelette with baking paper then slide out the second omelette onto the paper. Do the same for the third omelette. You can pour the omelettes onto separate plates but your kitchen will soon become cluttered when you start to roll out the top and bottom pastry layers.
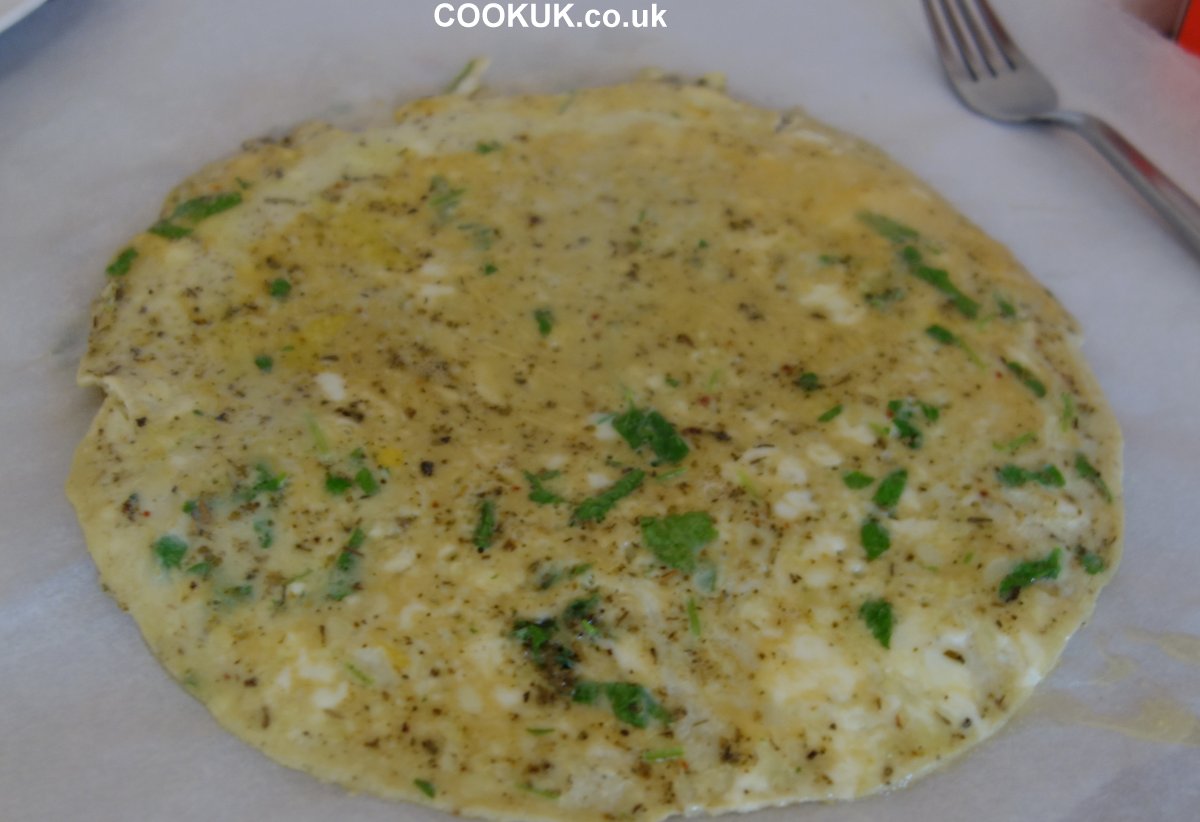
![]()
Cooked thin omelette
Turn on the oven now to 200°C / Fan 180° / 400°F / Gas mark 6 to pre-heat it in time for cooking.
STEP 3You will need to cut out two 25cm / 10in diameter circles of pastry, one for the base and one for the top. That measuremnt is approximate, slightly smaller or larger is no problem. Keep the top and bottom layers on separate plates. If you layer them together at this point, they may be difficult to separate.
To cut out the pastry take an upturned pan or plate which is about 25cm / 10in diameter and gently press it on the pastry. The imprint left on the pastry can be used as a template to cut out the circles of pastry.
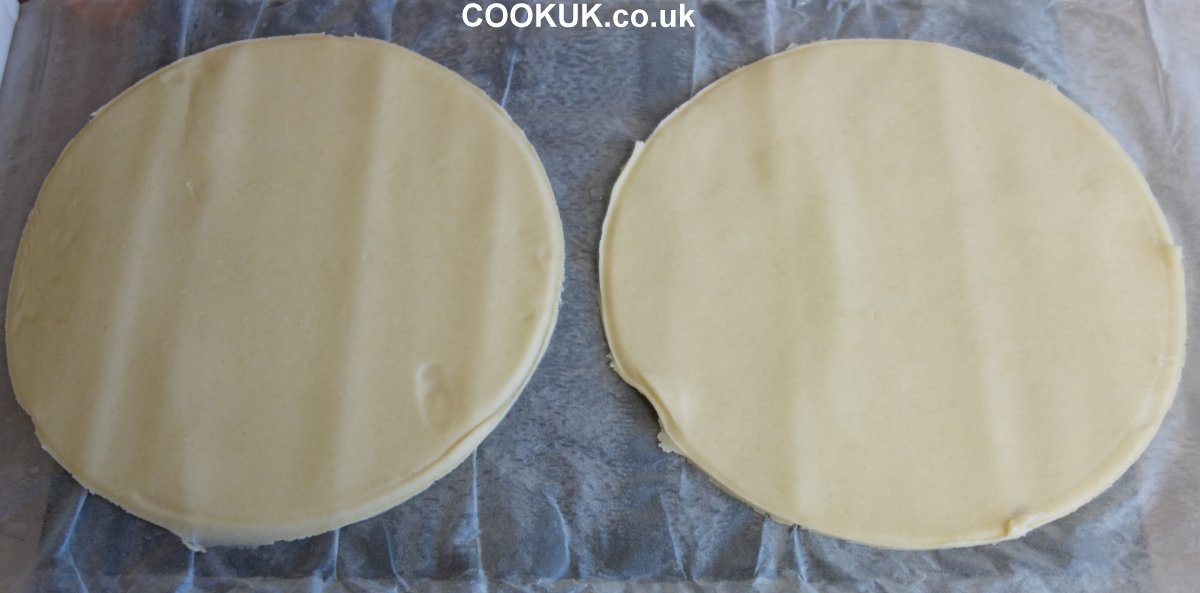
![]()
Cut out shortcrust pastry
Transfer one of the rolled out pastry sheets onto some non-stick baking paper. See step 5 elow for an easy way to do this with minimum tearing of the pastry.
Now place one of the omelettes onto the pastry followed by a third of the grated cheese and ham. Repeat the omelette, cheese and ham layers twice more.
When you add each of the omelettes to the galette base, you need to leaves a margin of about 3 cm of pastry clear - see the picture below. If the omelette is too big for this, trim it up slightly to fit correctly.
Whisk the remaining egg and use it to brush some egg round the margins of the bottom layer of pastry.This will help to seal the top and botthom of the galette when you join them in the next step. Do not throw away the remaining egg mixture, it will be used later.
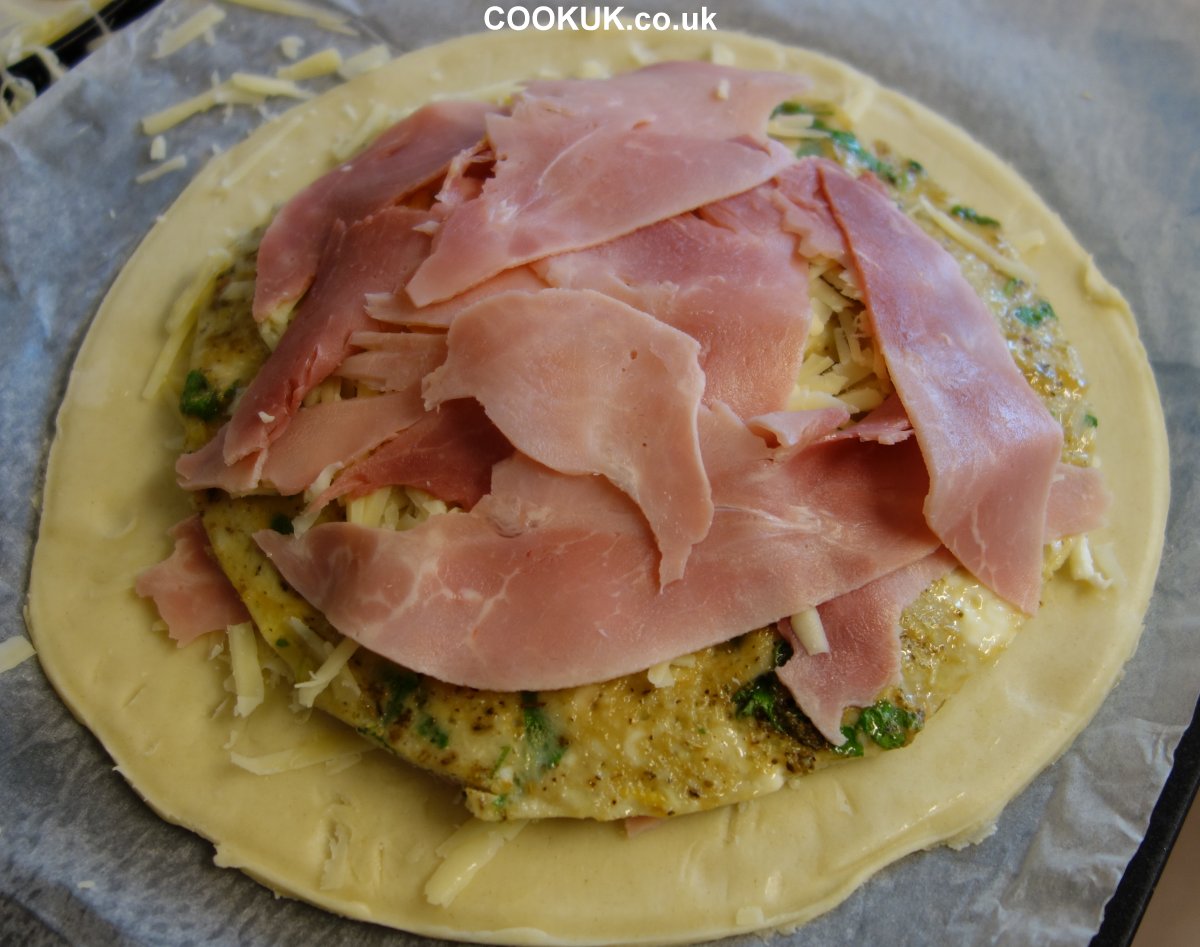
![]()
Placing the filling on the pastry
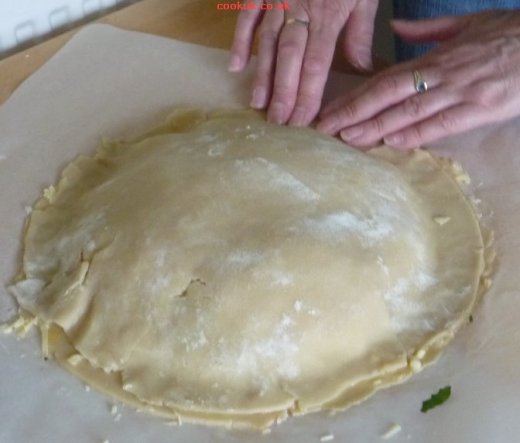
The next step is to transfer the second sheet of pastry onto the top of the galette. First place the rolling pin a few inches from one edge of the pastry. Draw up the pastry over the top of the rolling pin then simply gather up the remaining pastry by rolling the rolling pin.
Lay the rolled up pastry over the filling by unrolling it from the rolling pin.
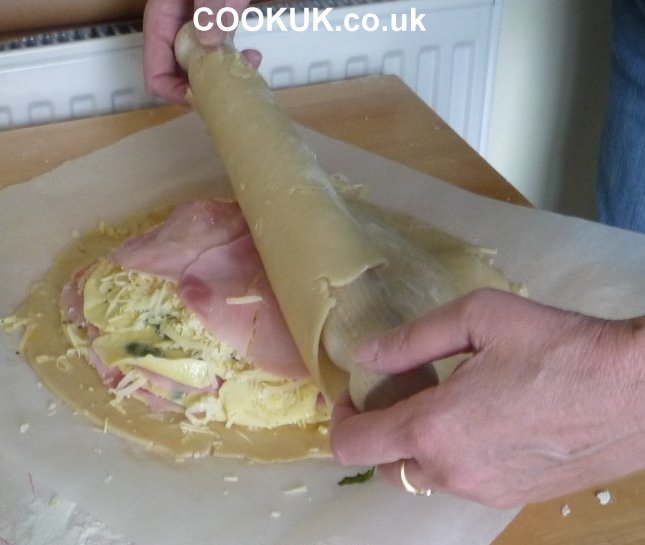
![]()
Placing pastry on galette
Gently but firmly press the edges of the top pastry layer onto the bottom layer so that they seal together.
![]()
Seal galette pastry
You could simply cut the sealed edges neatly so they form a tidy circle but it's best to crimp the edges to give a professional look to your galette.
Rather than explain how to do this, it's easier to show you a short video. Click on the YouTube video below for a clear demonstration.
VIDEO SHOWING HOW TO CRIMP THE EDGES OF A GALETTE
Brush some of the remaining egg mixture from step 4 over the top layer of pastry so that it will brown during baking. Place the galette (with the underlying baking paper) onto a baking tin and place in the pre-heated oven for around 25 minutes until the pastry is golden brown.
Turn the cooking galette round after ten minutes in the oven to ensure it is evenly cooked. Take a look at it after 20 minutes to check how browned the pastry is.
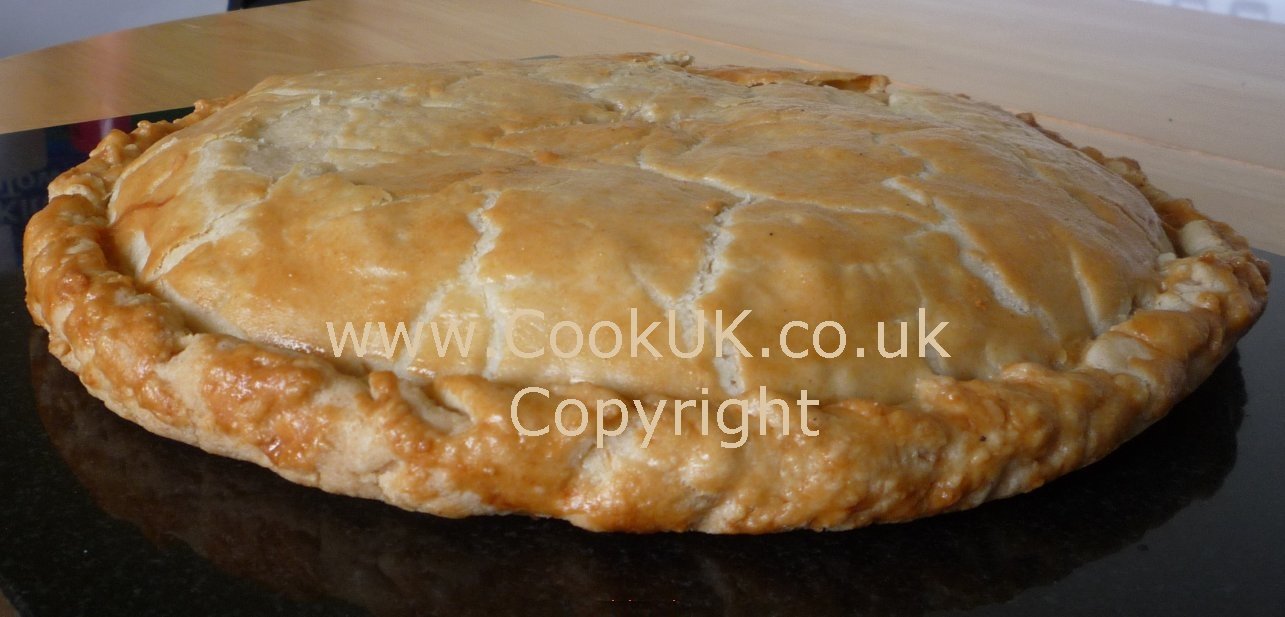
![]()
Baked Gruyere Cheese and Ham Galette