![]()
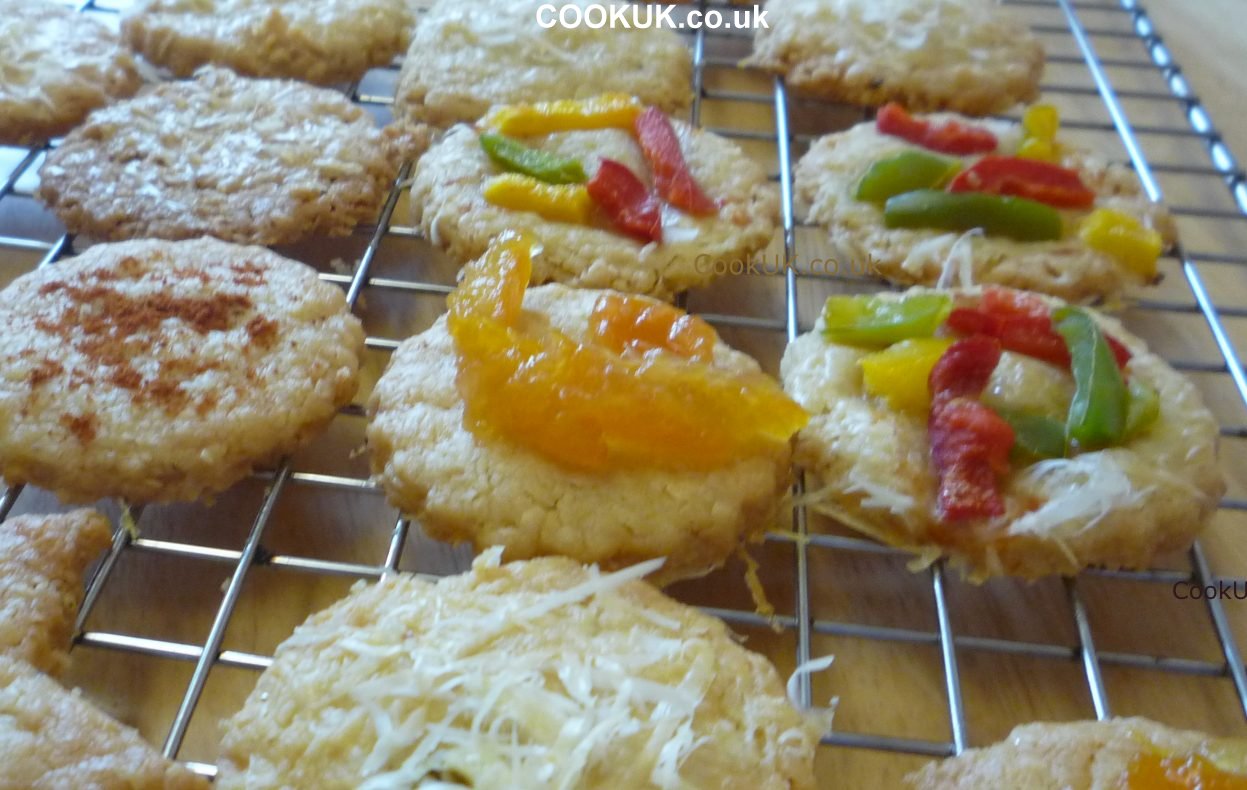
Cooked Crispy Cheese Biscuits
Delightful as a snack or as tapas these biscuits are savoury and crispy and can be topped in many ways.
These tasty biscuits can be turned into a superb tapa by simply topping them with something unusual. A spread of pesto looks and tastes good as do small bits of chopped sweet pepper. The biscuits are savoury on their own and we reckon that the sweet and sour taste of marmalade is an exquisite topping, especially the chunky rind bits found in some marmalades.
For a truly exotic tapa we took one biscuit, topped it with cream cheese and then placed another biscuit on top. Chopped smoked salmon on top is also out of this world as far as taste goes. When cooked, the pastry has a "melt in the mouth" texture so pick them up very gently.
110g / 4oz of salted or unsalted butter straight from the fridge
110g / 4oz plain flour (not self-raising)
25g / 1½oz Parmesan cheese plus a little more for topping
40g / 1½oz strong Cheddar cheese
A pinch of Cayenne pepper
Optional level teaspoon of mustard powder
Salt and ground black pepper to taste
Optional toppings (see suggestions and pictures)
PREPARATION TIME: 45 minutesMost pastry mixes require resting for 30 minutes in the fridge to allow the gluten in flour to loose some of its elasticity. This pastry also needs to be rested for 30 minutes but don't put it in the fridge just leave it in the kitchen in a cool place. This makes rolling it it out much easier.
You can use pre-grated Parmesan cheese but it does not have quite the same taste compared to a chunk of Parmesan which has been freshly grated.
Sometimes a normal food grater is not up to the job of grating fresh parmesan. If its too difficult you have two options, cut the rind off the Parmesan (it is the most solid part).
The other option is to invest in a proper Parmesan Cheese
grater. This makes short work of grating Parmesan and it will last you
several years. It's probably easiest to buy them online, just type "Parmesan
cheese grater" into a Search engine and several options will pop up.
Add all the ingredients to a food processor and process for a minute or two until the pastry forms into crumbs. Don't overdo it, two minutes at the most.

![]()
Mixed pastry
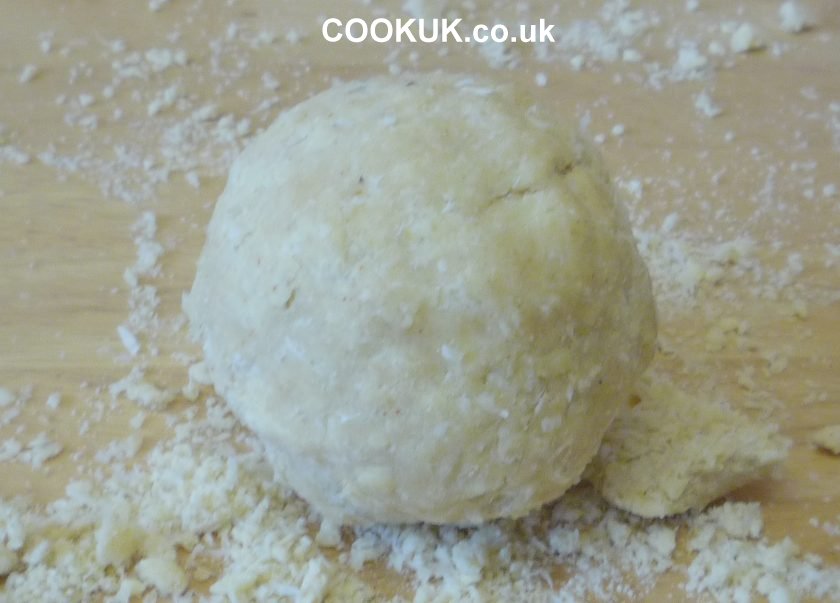
Pour the pastry mix onto a work surface and form it into a ball. Do this by drawing all the crumbs together with your hands and gently press into a ball shape.
Wrap in cling film and store it in the kitchen for 30 minutes. Don't put this pastry mix in the fridge, this will only make it very difficult to roll out. Turn on the oven to 180°C / Fan 160°C / 350°F / Gas Mark 4 to pre-heat it.
![]()
Pastry formed into a ball
Cut the pastry into half and start rolling it out. Try to get it just under half a centimetre thick (under a quarter inch). In all likelihood some of the pastry will break as you roll it out but persevere. Roll out as much as you can and cut it into circles. Then gather up the remaining pastry, form it into a ball and roll out again. Do the same with the remaining half of the pastry.
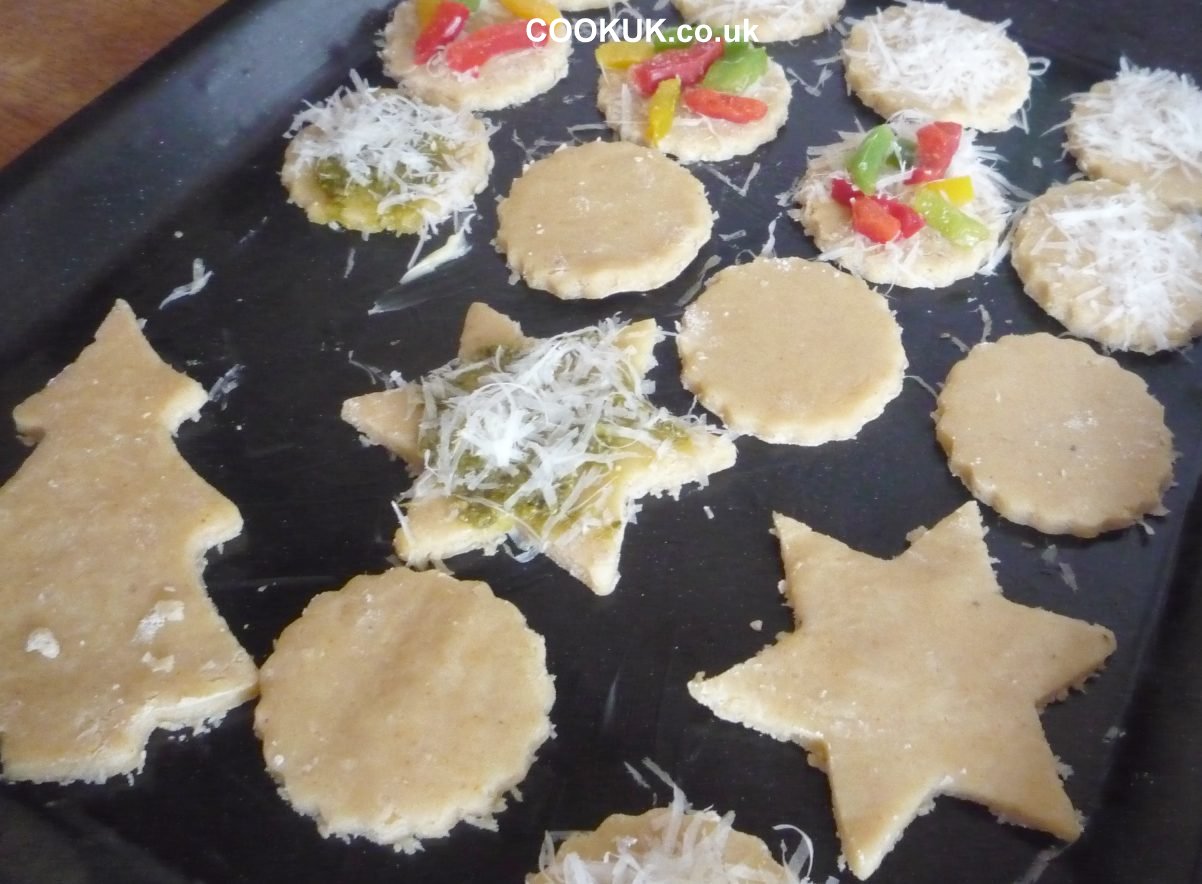
STEP 4Sprinkle finely grated Parmesan cheese over the pastry circles, Grease you baking tray (two may be required) and carefully transfer the pastry circles to the tray.
Place the baking tray in the pre-heated oven and bake for ten minutes. If your oven cooks unevenly then turn the tray round after five minutes. The biscuits are cooked when they begin to turn golden brown.
This may well take longer than ten minutes but check every minute past that time because they burn very easily.
![]()
Pastry ready for cooking
The biscuits are a delight without any further decoration but you may want to top them with small delicacies. We have learnt after several experiments that all the decoration is best left to after the cooking. If you add anything to the top of the biscuits before cooking then some parts of the biscuits tend to remain a bit soggy.
Small chunks of sweet pepper, sweet paprika sprinkled over the top or a small amount of pesto are all colourful and tasty. The winning topping though is the peel from a chunky marmalade. Its bitter sweet taste is the perfect accompaniment to the savoury biscuits.
![]()
Cooked and topped Crispy Cheese Biscuits